Are you ready to unlock the power of your IoT devices from the comfort of your Mac? Then prepare to discover that SSH login is not just a technical procedure, but a gateway to a more connected and controlled digital life.
The Internet of Things (IoT) is no longer a futuristic concept; it's a pervasive reality. From the smart thermostat adjusting your home's temperature to the industrial sensors monitoring critical infrastructure, IoT devices are shaping the modern world. Managing this vast network, however, can feel overwhelming. This is where SSH, or Secure Shell, steps in. It provides a robust and encrypted method of remote access, allowing you to manage your IoT devices securely from your Mac, no matter where you are. This guide will delve deep into the practicalities of implementing SSH login for IoT on your macOS system, ensuring you're well-equipped to navigate the intricacies of this powerful tool. The objective is not simply to provide instructions, but to equip you with the understanding needed to fully leverage the capabilities of SSH.
Understanding SSH
SSH, short for Secure Shell, is more than just a tool; it's a cornerstone of secure remote access. Imagine an encrypted tunnel through which you can communicate with your IoT devices, effectively shielding your commands and data from prying eyes. SSH ensures the confidentiality and integrity of your communications, protecting you from malicious actors who might seek to compromise your devices or steal sensitive information. It's an essential layer of security in an increasingly interconnected world.
- Maximize Efficiency With Remote Iot Batch Jobs A Guide
- Movierulz 2024 Download Risks Alternatives And Safety
The importance of SSH in the realm of IoT cannot be overstated. As IoT devices become more integrated into critical infrastructure and personal lives, the need for robust security mechanisms like SSH grows in tandem. Whether you're overseeing a complex industrial system or simply managing your smart home, SSH offers a secure and reliable means of remote access, allowing you to maintain control and protect your data.
SSH Login Essentials
Before diving into the specifics, let's establish the core elements of an SSH login process. Understanding these components is key to grasping how SSH works and how to configure it effectively. When initiating an SSH connection, several key players are involved:
- Client: Your Mac, the device from which you initiate the SSH connection.
- Server: Your IoT device, which is configured to accept SSH connections.
- Keys: Digital credentials, typically used to authenticate your identity and encrypt communication between the client and server.
This process can be likened to a secure handshake. Your Mac (the client) initiates a connection with your IoT device (the server). Using keys or passwords for authentication. Once the handshake is complete and verified, a secure channel is established, allowing you to interact with your IoT device.
- Movierulz Com Kannada Risks Legality Best Alternatives
- Is Dwayne Johnson Dead Debunking The Rumors Celebrating The Rock
Setting Up SSH on Your Mac
Now that you have a grasp of the underlying principles, let's move on to the practical aspects. Configuring SSH on your Mac is a straightforward process, and with the following steps, you'll be able to connect to your IoT devices remotely with ease.
The good news is that macOS comes with SSH already integrated. You don't need to install any additional software. To begin, all you need is the Terminal application. To locate it, use Spotlight search (Command + Spacebar) and type "Terminal," or navigate through Finder to Applications > Utilities > Terminal.
Connecting to Your IoT Device
With the Terminal open, you're ready to establish a connection to your IoT device. Follow these steps:
- Open the Terminal application on your Mac.
- Type the following command, making sure to replace the bracketed placeholders with the correct information for your device:
ssh username@device_ip_address - Hit Enter. You will then be prompted for your password.
- Once you've entered your password, you should be logged in to your IoT device.
That's all it takes to establish a basic SSH connection! Now you have the ability to remotely manage your IoT devices directly from your Mac.
Enhancing Security with SSH Keys
While password-based authentication is functional for basic SSH connections, the implementation of SSH keys introduces a significantly enhanced layer of security. SSH keys are essentially digital certificates that verify your identity without requiring a password each time. This is analogous to upgrading from a basic door lock to a sophisticated deadbolt system. Let's explore how to generate and use SSH keys on your Mac.
Step 1
Open the Terminal application. You can do this by searching for it in Spotlight or navigating to Applications > Utilities > Terminal.
Step 2
In the Terminal, execute the following command:
ssh-keygen -t rsa -b 4096 -C "your_email@example.com"
This command generates a new RSA key pair. The -t rsa specifies the key type (RSA), -b 4096 indicates a key size of 4096 bits (providing a high level of security), and -C "your_email@example.com" adds a comment to help you identify the key. Be sure to replace "your_email@example.com" with your actual email address for easy identification.
Step 3
When prompted, press Enter to accept the default storage location for your keys. You will then have the option to create a passphrase. A passphrase adds extra security. Consider setting one, as it will protect your private key from unauthorized use if someone gains access to your computer. Make sure that the passphrase used is strong and memorable.
Step 4
After generating your SSH keys, you need to copy the public key to your IoT device. Use the following command in the Terminal:
ssh-copy-id username@device_ip_address
Substitute "username" with the username of the account on your IoT device you wish to access, and "device_ip_address" with the IP address of your IoT device. This command securely copies your public key to the device's authorized_keys file. The result is you can login without typing the password.
With these steps completed, you've successfully configured SSH keys. You can now log in to your IoT device without repeatedly entering your password.
Exploring SSH Clients for macOS
Though macOS includes a built-in SSH client, some users prefer dedicated SSH client applications for a more feature-rich experience. These clients often provide improved user interfaces, session management, and additional functionalities.
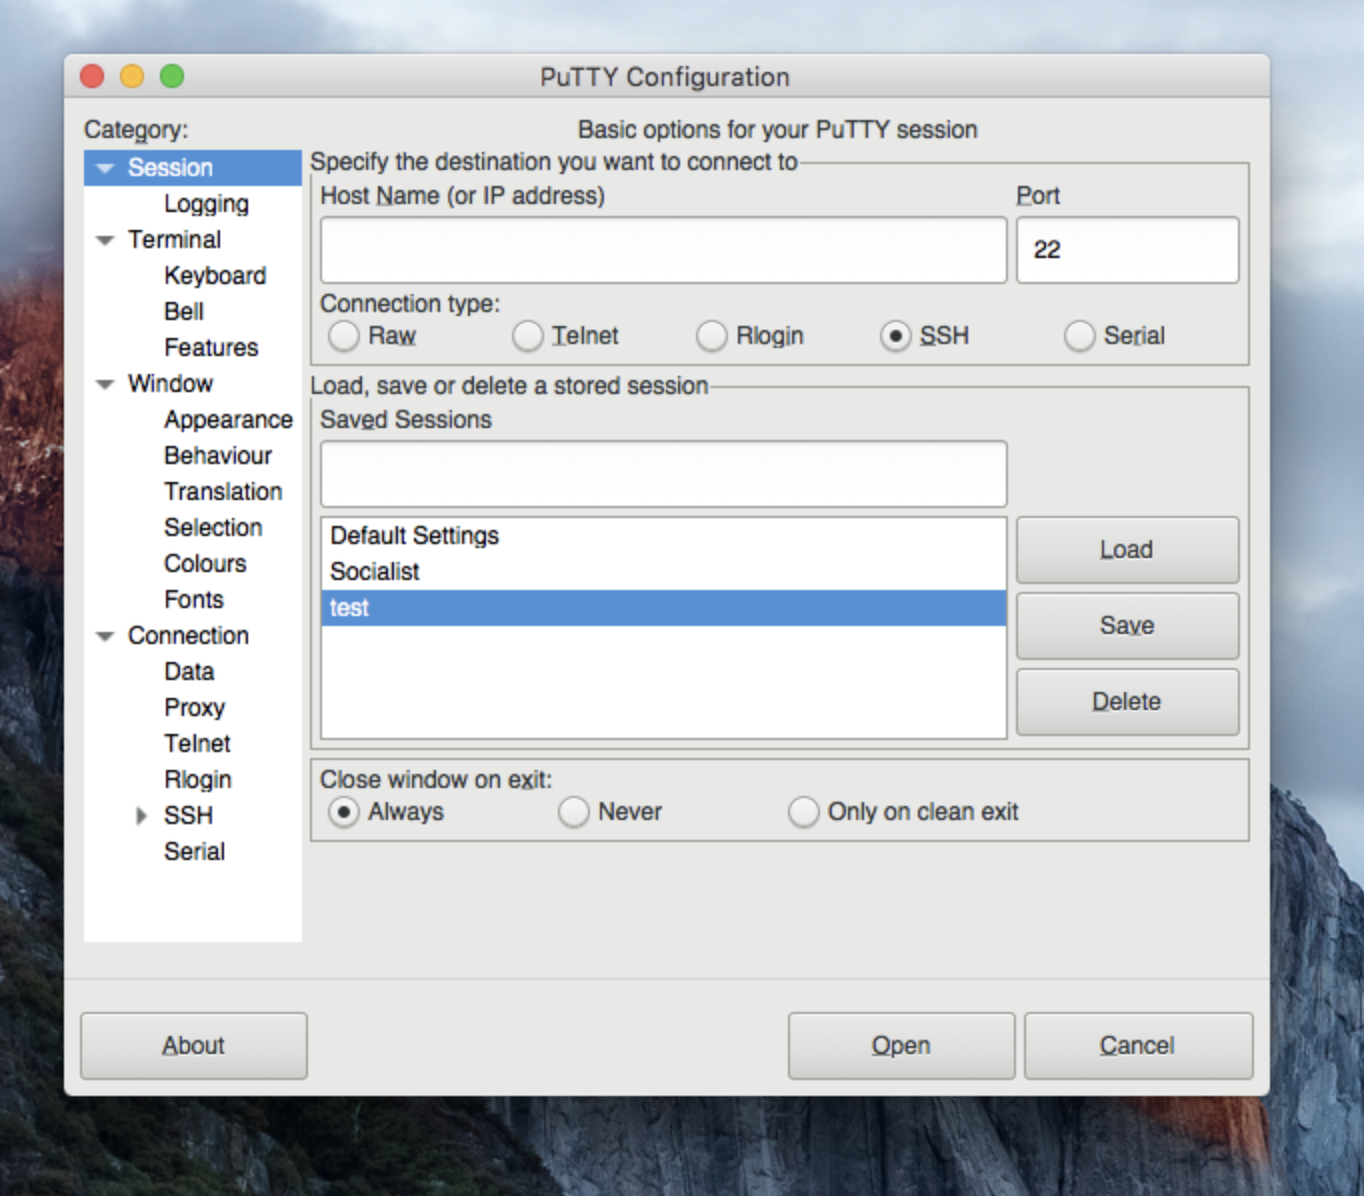
1. PuTTY (For Mac Users)
PuTTY, a well-established SSH client, is available for macOS. Though initially designed for Windows, it has a Mac counterpart. PuTTY is user-friendly and supports various authentication techniques.
2. Cyberduck
Cyberduck is an excellent option for Mac users. It functions as an SSH client, and a file transfer tool. With Cyberduck, you can easily navigate and manipulate files on your IoT devices, offering additional functionality.
3. MobaXterm
MobaXterm is a versatile SSH client packed with numerous features, including X11 forwarding, support for several protocols, and session management. If you're seeking a comprehensive solution, MobaXterm is a solid choice.
The best client is the one that suits your workflow and specific needs. Experiment to find what suits you best, and enhance your control over your SSH connections.
Best Practices for Secure SSH Login on IoT Devices
With SSH setup and device connection established, focusing on best practices is paramount to ensure a secure and effective experience:
- Use Strong Passwords: If you're not utilizing SSH keys, make sure your passwords are robust and unique. Avoid easy-to-guess passwords.
- Enable Two-Factor Authentication (2FA): Two-Factor Authentication significantly enhances security.
- Keep Devices Updated: Regularly update your IoT devices and your Mac to the latest security patches.
- Limit Access: Restrict SSH access to users who need it and do not share credentials.
Following these practices reduces the risk of unauthorized access and ensures your IoT devices and data remain secure.
Troubleshooting Common SSH Issues
Even with meticulous setup, issues can arise. Here's how to fix typical SSH problems:
1. Connection Refused
If you get "connection refused," SSH might not be running on your IoT device. Check the device's configuration and ensure SSH is activated.
2. Permission Denied
If you encounter "permission denied," there might be a problem with authentication. Verify the username, password, and SSH keys.
3. Timeout Errors
Timeout errors can indicate network problems or an unreachable device. Check your network connection and ensure the device is online.
With these troubleshooting tips, you should be able to solve most SSH issues efficiently.
Real-World Applications of SSH Login for IoT
Now that you have a grasp on SSH login for IoT on your Mac, let's look at its real-world applications:
1. Smart Home Automation
SSH empowers you to remotely control your smart home devices, like thermostats, lighting, and security cameras. Adjusting your home's temperature or turning off lights from anywhere is possible.
2. Industrial Automation
In the industrial sector, SSH is used to monitor and control sensors, machinery, and other equipment. This guarantees smooth operations and minimizes downtime.
3. Data Collection
SSH can collect data from remote sensors, proving to be a valuable tool for scientists and researchers.
These are just a few ways SSH can be applied in IoT. The possibilities are limitless!
Additional Resources
For more information on SSH and IoT, check out these trusted resources:
- OpenSSH
- IoT For All
- Cisco IoT
Table of Contents
- Understanding SSH: What It Is and Why It Matters
- Setting Up SSH on Your Mac: Step-by-Step Guide
- Generating SSH Keys for Enhanced Security
- Downloading SSH Clients for Mac
- Best Practices for SSH Login on IoT Devices
- Troubleshooting Common SSH Issues
- SSH Login for IoT: Real-World Applications
- Conclusion: Take Your IoT Experience to the Next Level
- Table of Contents
- Additional Resources
- Movierulz Telugu Movies Risks Legal Alternatives Watch Safely
- 7movierulz In 2025 Is It Safe Legal To Stream